Day 6: In the thick of it.
Our transect group taking measurements deep underneath the blackberry. Getting some good data but trying hard not to get hit by the thorny plants.
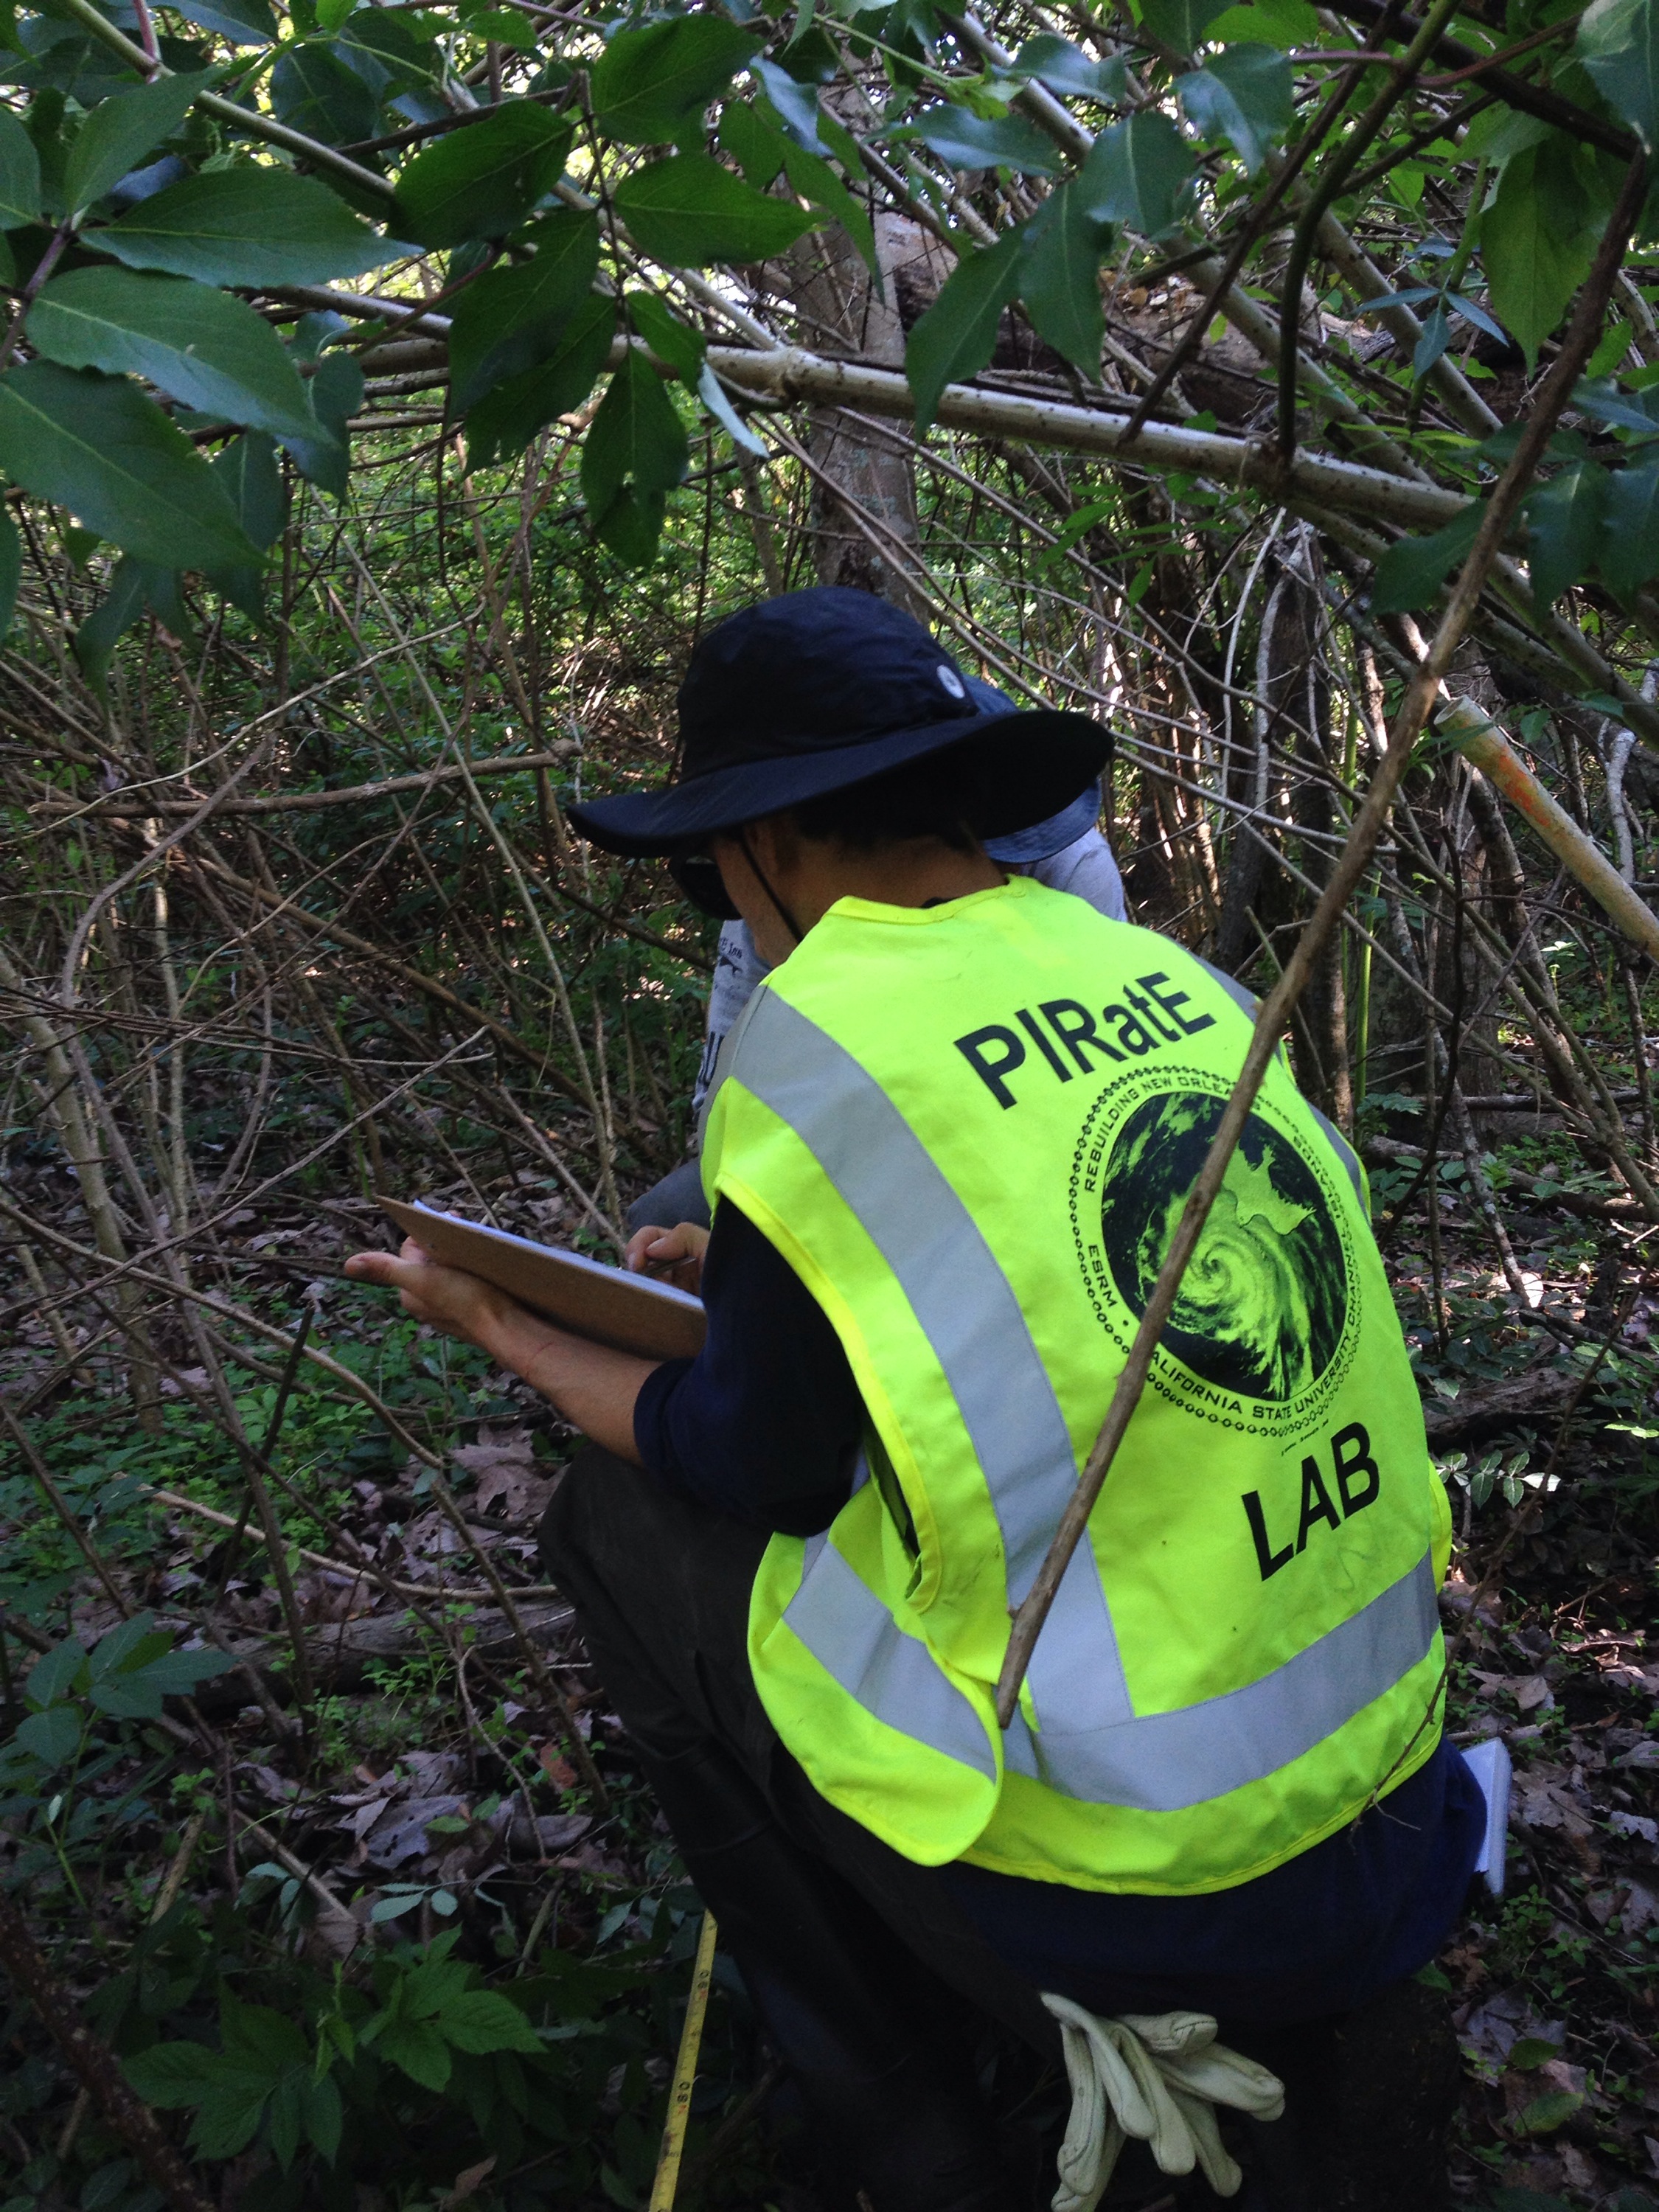
Our transect group taking measurements deep underneath the blackberry. Getting some good data but trying hard not to get hit by the thorny plants.
Hello!
My name is Daniel Fernandez and I am currently a senior at California State University Channel Islands and majoring in Environmental Science and Resource Management. The hands on experience I have with my major includes volunteer work through organizations such as Ontario High School Green Club, Teen Green, The Ojai Valley Land conservancy, etc. with focus on identifying sustainable agricultural land practices as well as restoring natural habitats.
In this website included below you will find information on how birds in Ventura County have been affected over the last ~45 years and their possible contributing factors.
Boogie Woogie piano ruled the Saint Patrick’s Day evening at Chickie Wah Wahs on Canal Street.

On March 10th, 2015 a sand filter was constructed for a comparison test versus the plant-based Bio-SWIPE filter. A gravity-based Sand Filter was built using a 62 liter Sterlite Storage container. The portable Bio-SWIPE filter unit that I am researching for Capstone is slightly larger of about 70 liters. Similar container sizes were used because it was important to match the amount of filter mediums found in both filters. My hypothesis about the Sand Filter is that: It will reduce less pollutants than Bio-SWIPE filter. Basically, I am trying to show that a simple sand filter is not as effective in decreasing pollutants as an advanced filter system.
After purchasing the necessary materials at Home Depot, I started building the Sand Filter by placing around 3-4 layers of Vigoro Decorative White Marble Chips at the bottom of the container. The rocks helped create a space at the bottom of the storage container where filtered water was able to collect, and also serves as a structural support for the filter medium above. The rocks were first rinsed in 5 gallon buckets before being placed in the container.

Step 2 of the Sand Filter was creating a water pervious separation between the sand filter medium and the water collecting space at the bottom of the container. There are many different types of materials that could have been used but it is important to find something that will allow water to pass and NOT the sand filter medium. As a result, I used one layer of Medium Duty Scotts Pro Landscape Fabric. At first the new fabric had difficulty allowing water to pass so I carefully stretched the fabric by hand to make it more effective in allowing water to pass through it. The stretched fabric was then carefully placed on the marble rocks.

Step 3, was creating an additional layer to separate sand medium from the landscape fabric. This was a necessary step to help prevent sand medium from clogging the small holes in the fabric. As a result, smaller “Pea Gravel” rocks from Best Build were placed on top of the fabric. The rocks were first rinsed in a 5 gallon bucket before entering the filter. A layer of about 3-4 inches of Pea Gravel was added to the container.  Step 4, consisted of partially de-constructing the Sand Filter in order to drill holes at the bottom of the storage container. Five exit points were drilled approximately 1.5 inches from the bottom of the filter. Four additional “drainage holes” were drilled below the actual exit points that allow for better draining of the filter if needed. The four drainage holes can be clogged with screws that will allow the actual exit points to flow. After drilling the holes, the holes were made flush with the surface with a razor blade. The left over plastic scraps were then carefully collected to make sure there was no left over plastic inside the filter.

The final step for the Sand Filter was to add the sand filter medium. The sand medium itself was: one 50 lb. bag of Quikrete All-Purpose Sand. This sand was chosen because it was course and pre-washed. Fine sands are not ideal because they can clog the fabric and are less effective in allowing water to pass. After the sand medium was added, I tested to see if the sand filter would in-fact, flow and prevent sand from passing through the fabric. By using a garden hose I was able to flush the filter until it had flushed the smallest particles from the filter.

The Sand filter was used to test Calleguas Creek water and one other location on the Channel Islands campus on March 11th, 2015. One effluent test of the sand filter was performed by using the same methods as we did for the Bio-SWIPE filter that day as well. We tested at 100 gallons per hour, by emptying 5 gallon buckets into both filters for 3 minutes. Results are pending. 
Bordered plant bug

Inchworm from the Geometrical family . This little guy landed on our paper hanging from a silk thread. He’s going to make a very handsome moth someday.
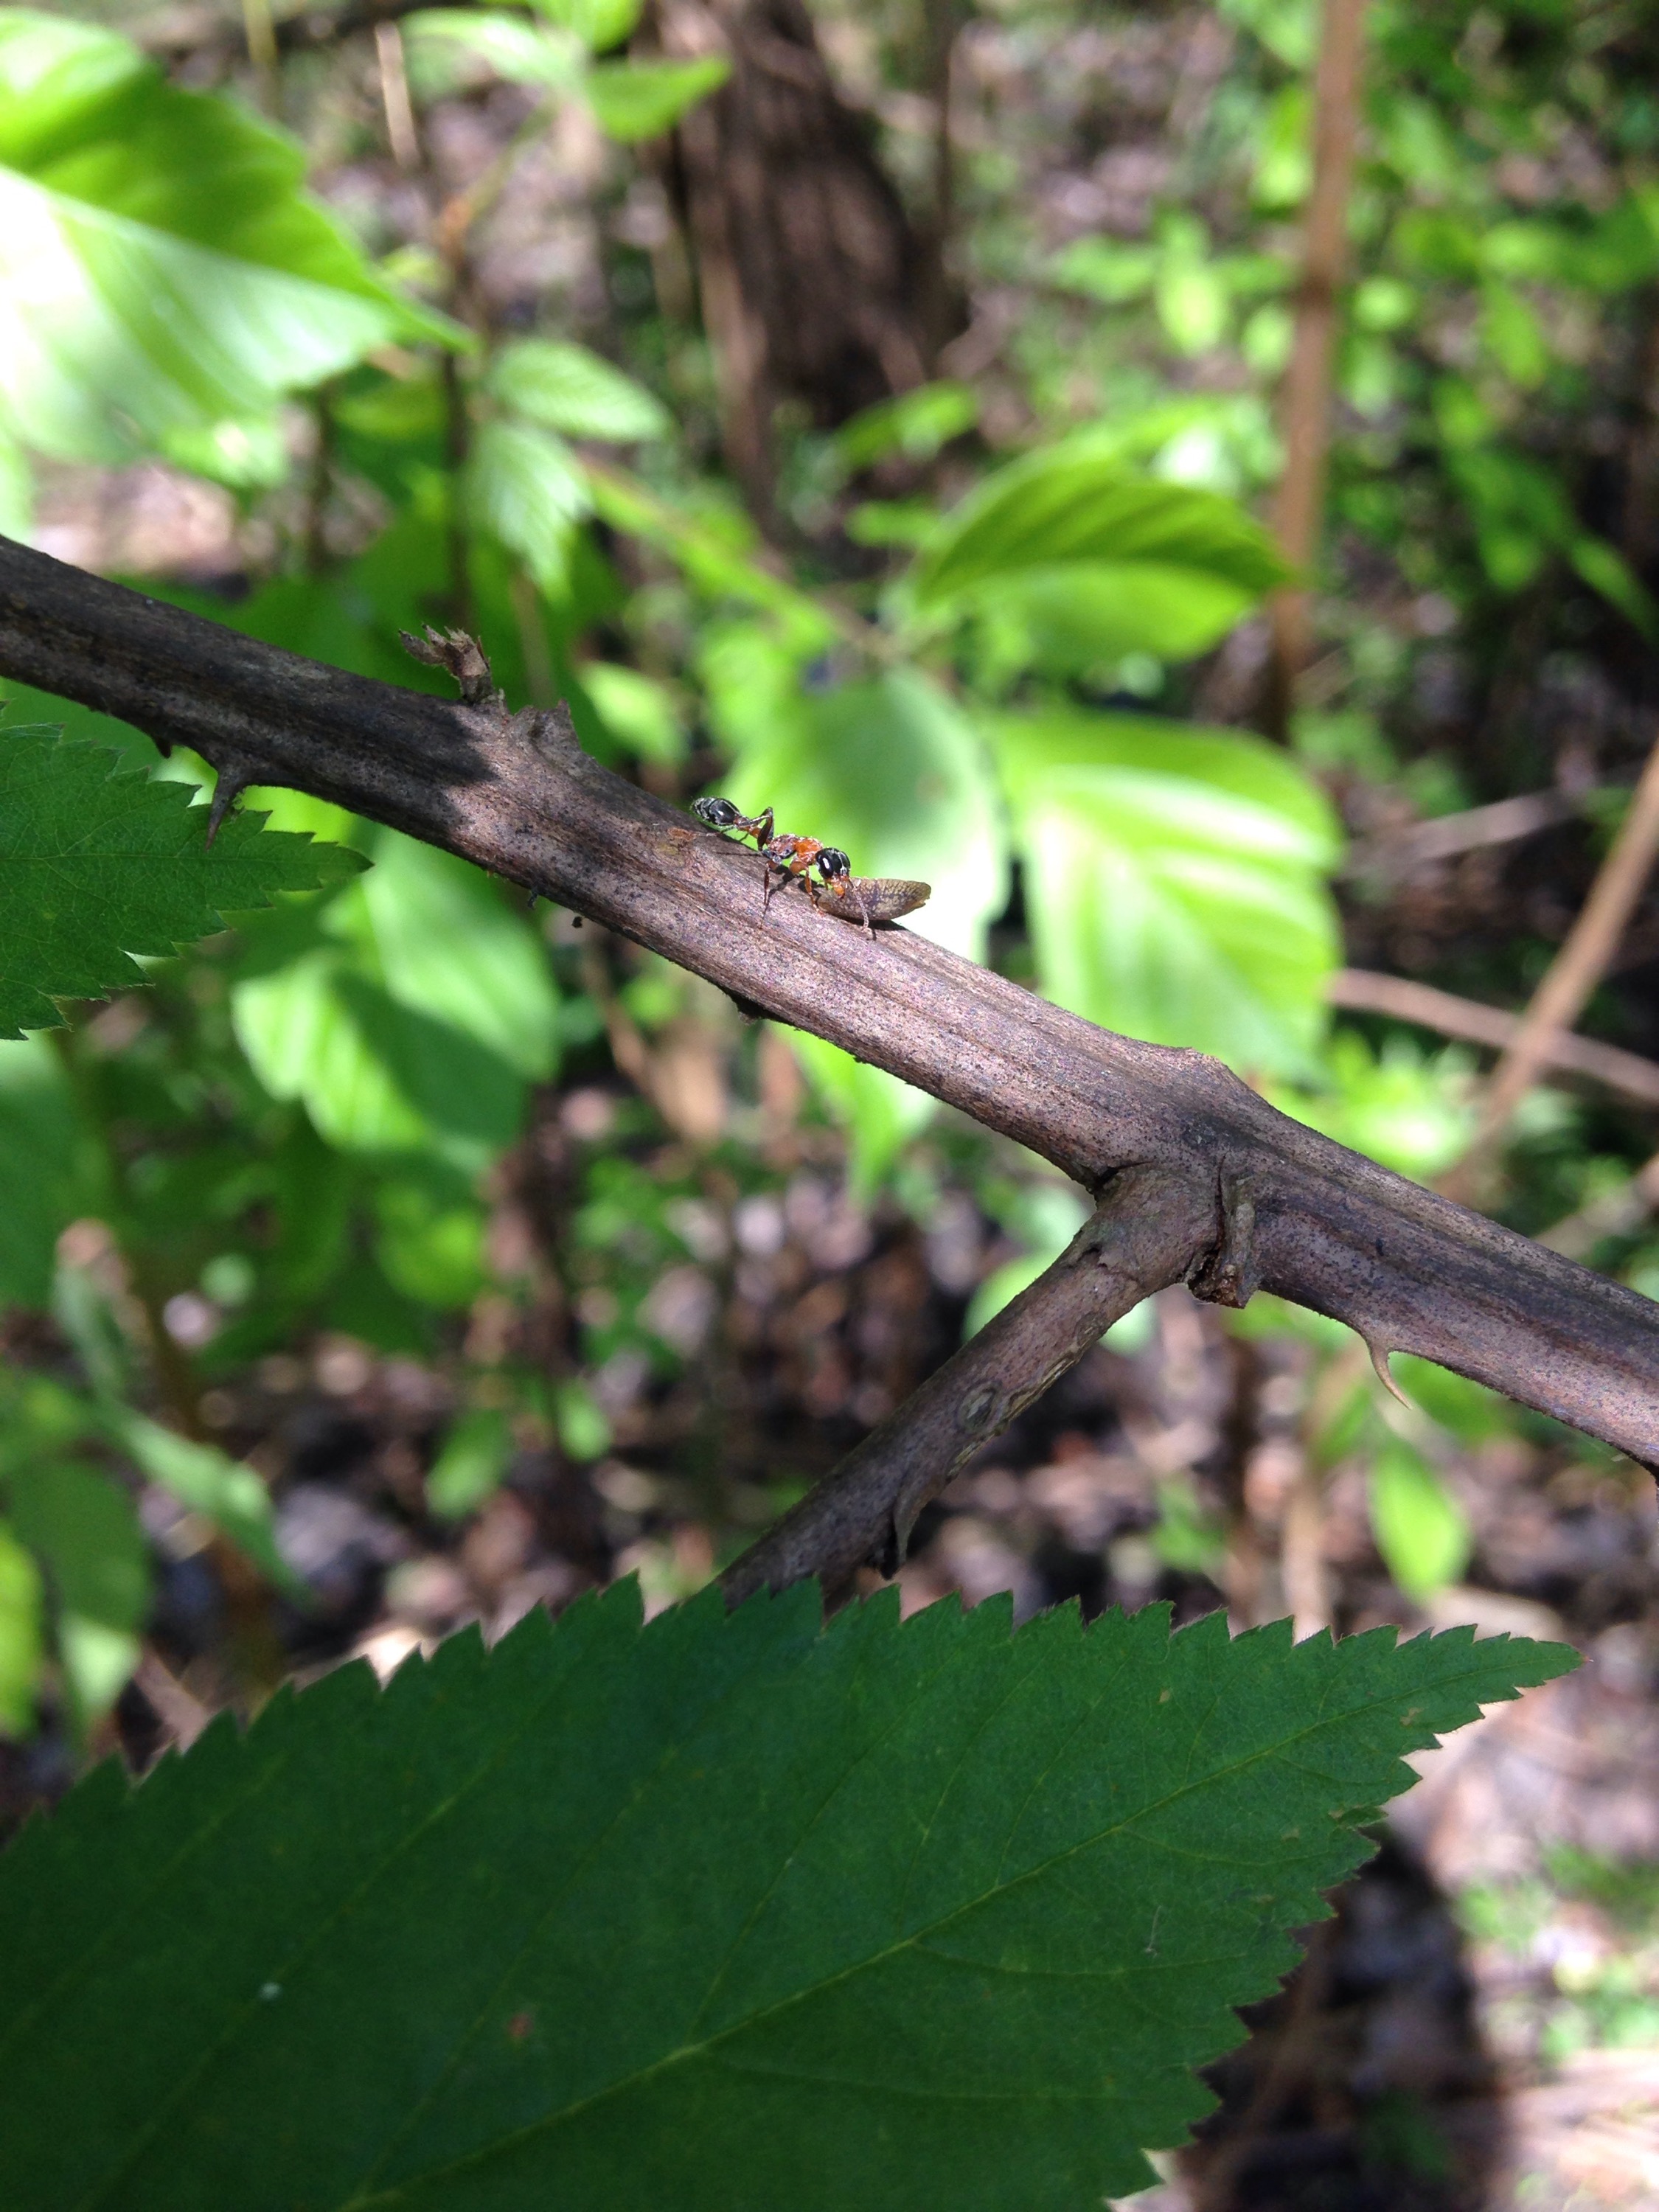
Leafcutter ant
Posted from Address not found.

It’s not every day you get to see a huge fuzzy spider. Out of all the interesting bugs and insects we’ve come across, this was one of the coolest!
Starting our transects at woodlands trail bright and early today. Hopefully we can get a lot
more done today.
We have been exploring the vertebrate visitors to our bottomland hardwood sites for the past several years with camera traps.